
It is said that the best camera is the one that you have with you. With the technology of smart phones improving year after year and the cost becoming more affordable, many people carry smart phones with them wherever they go, sharing pictures instantly on social media with friends and family.
I, too, usually have my iPhone in my back pocket or purse, which makes it so easy to whip out and catch a moment with my kids or something interesting while we are out and about. It still may not match the quality of a professional camera, but the iPhone really does a great job. There are hundreds of great tutorials out there, but here are 10 quick tips that I use to help make the most of the iPhone camera. (Note: these tips are intended for most generations of iPhones.)

1. Access the Camera Quickly
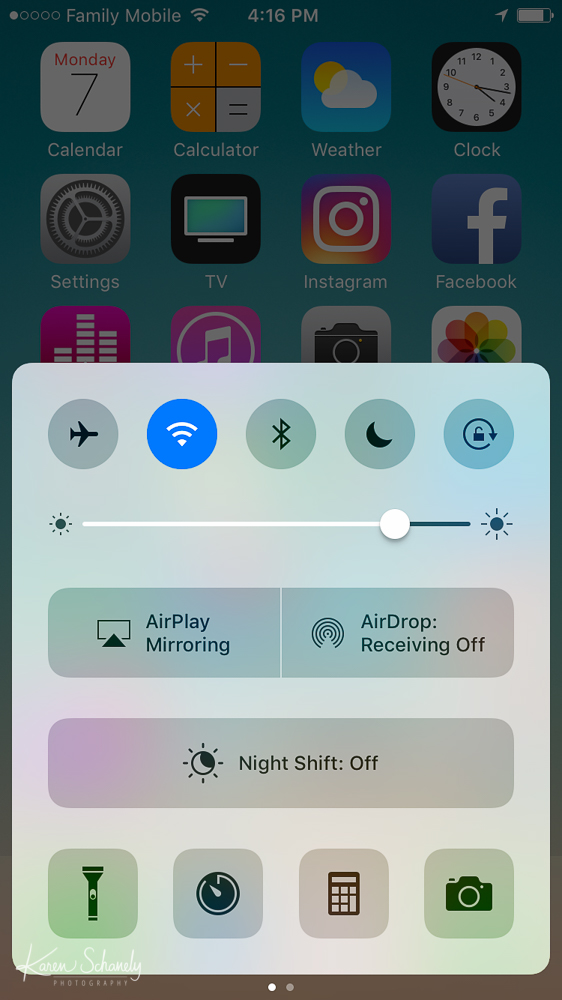
Many times, I use my phone when I need to snap a quick picture. Taking the time to enter a passcode or find the specific app can take precious seconds and the moment may be over once I’ve completed those steps. A fast way to open the camera app from the lock screen is to swipe left (or up if you have an earlier iOS). If your phone is already open, you can swipe up from the bottom of the screen. This will reveal a grey box with various buttons, and at the bottom, you should see the camera icon.
2. Use the Rear Camera
The front-facing camera (the one you probably use for selfies) has a lower resolution and poorer quality than the rear-facing camera, so whenever possible use the rear-facing camera.

3. Snap it Several Ways
There are several ways to release the shutter on the camera. The first is obviously the button in the camera app. I suggest pushing the button gently to reduce camera shake (and therefore blurry pictures). Another way to release the shutter is with the volume buttons on the side of the phone. This way can be handy if you are holding your phone in a tricky position or angle. If you have headphones or ear buds with volume buttons, you can also use them to release the shutter while they are connected to the phone. This can be helpful if you need extra help preventing camera shake, such as in low light situations, so that you aren’t pushing any buttons on the phone itself.
4. Stabilize Your Camera
Nobody wants unintentional blurry pictures, especially when the moment counts. First, use both hands to hold your phone to steady it. Second, lean or hold your phone or yourself against a wall, pole, tree, or anything that can help keep your arms and hands steady.

5. Lock the Focus
To get sharp focus on your subject, don’t let the camera decide where to focus. Instead, tap the screen where you want the camera to focus, such as someone’s face. To lock the focus, tap the screen and hold it until you see “AE AF LOCK.” Locking the focus, keeps the camera focused on that spot even if you move the camera or your subject moves. I use this all the time, especially with wiggly kids!
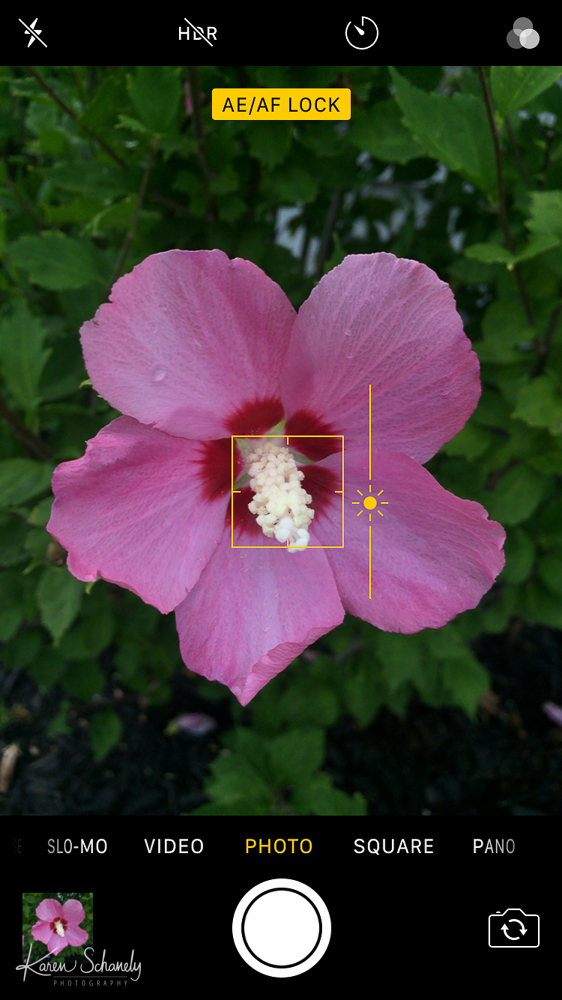
6. Choose the Brightness
While you are tapping the screen to choose a focus point, you can also control how bright or dark the image is. When you tap the screen, a yellow box appears with a little brightness icon to the right. If you slide that icon up, you will see the image get brighter, and if you slide that icon down, you will see it get darker. I use this a lot, especially in situations when the light is more challenging. For example, if you are taking a picture of the sunset with a silhouette, you can focus on the person or object and then slide the brightness down so that you can see the colors in the sky. I recommend locking the focus before you adjust the brightness. Otherwise, the camera might switch focus points and change the brightness level you just set.

7. Use Your Feet to Zoom
Yes, your literal feet – to walk closer! 🙂 Generally, the quality of an image decreases if you use the zoom feature (unless perhaps you have the iPhone 7 with its dual cameras). So, if you are physically able to get closer safely, it’s a better option.

8. Look for Good Light
Good light can make or break a picture, and even make it magical. This is especially important with an iPhone camera. Look at how the light is falling on your subject and then move, or rotate, around until the picture looks its best. If you really want to get creative, I’ve found that the iPhone creates some fun sun flare when you shoot directly into the sun and allow some of the light to spill into your picture.

9. Experiment with Mobile Lenses
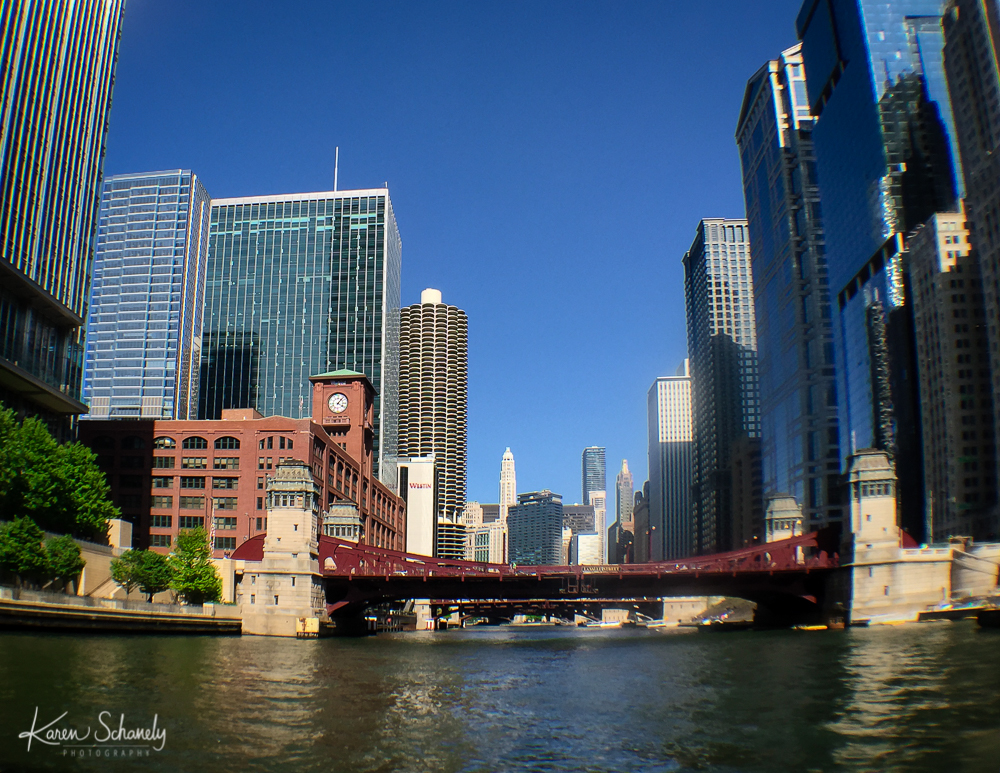
Experimenting with snap on lenses, such as the Olloclip, can be so much fun! The macro lens allows you to zoom in super close to capture water droplets or snowflakes. The wide angle lens captures a much bigger scene and works great for taking pictures of a landscape or expansive city skyline.

10. Give It the Final Touch
The iPhones do an amazing job, but adding a little bit of editing can take your pictures to the next level. Editing apps, such as Snapseed or VSCO, allow you to edit your pictures right on your phone. I usually tweak the crop, adjust brightness, and add a little contrast and clarity, but you can also get creative by adding textures and filters. Just be sure you don’t overdo it. You can see the difference it makes in the pictures below as the first is straight from the camera and the second has some basic edits.

No Edit

Edited
Hopefully you are inspired to get your phone out of your pocket more often to catch those moments through out your day!
Don’t miss future photo tips… sign up for my newsletter!
Subscribe for more »
*This post includes affiliate links. Thanks in advance for any support of Karen Schanely Photography so that I can keep these tips coming!

Leave a Comment