
My kids are now at the age where they are starting to feel more comfortable in water and even starting to swim. This summer, it has been so fun seeing their courage and excitement grow as they move from splashing around in the shallow area to swimming underwater in the deeper areas. I decided to invest in some gear that would allow me to take underwater photos, and there is no turning back now. There is a learning curve to it, but it’s so fun to be in the water with my kids, splashing around with them. Here are 5 things I’ve learned along the way:
*This post includes affiliate links. Thanks in advance for any support of Karen Schanely Photography!
1. Invest in the Right Equipment
There are a lot of options out there for shooting underwater with quite a wide range of expense – from a waterproof iPhone case for less than $50 to custom DSLR housing for thousands of dollars. Here are the two things I have used:
- DiCAPac waterproof case – To me, this feels like a fancy Ziploc bag for my DSLR camera. It has a roll and velcro zipper system and built-in finger sleeves that allow you to make adjustments on the camera. I was still a bit cautious using my camera with it fully submerged, but I loved using it at the beach to protect my camera from the sand, salty breeze, and unexpected waves.
- GoPro Hero – I have found the GoPro so easy and fun to use! It’s small and light-weight, and for fun personal family pictures, the quality is really great. There are various accessories and attachments you can purchase, including the dome, which I’ll discuss below.
TIP: Whatever you choose, be sure to test it before your first use and then double check before each use. Zip, tighten, lock, etc. all parts, and then dip each side into a sink or tub of water and watch for any air bubbles to appear. After you have dipped all sides, slowly submerge it in the water and watch for any air bubbles to appear. If you don’t see any, you should be good to go! After you’re done shooting underwater, be sure to rinse the housing off with clean, fresh water. Any salt, chemicals, and sand could damage the rubber sealing.
2. Find the Light
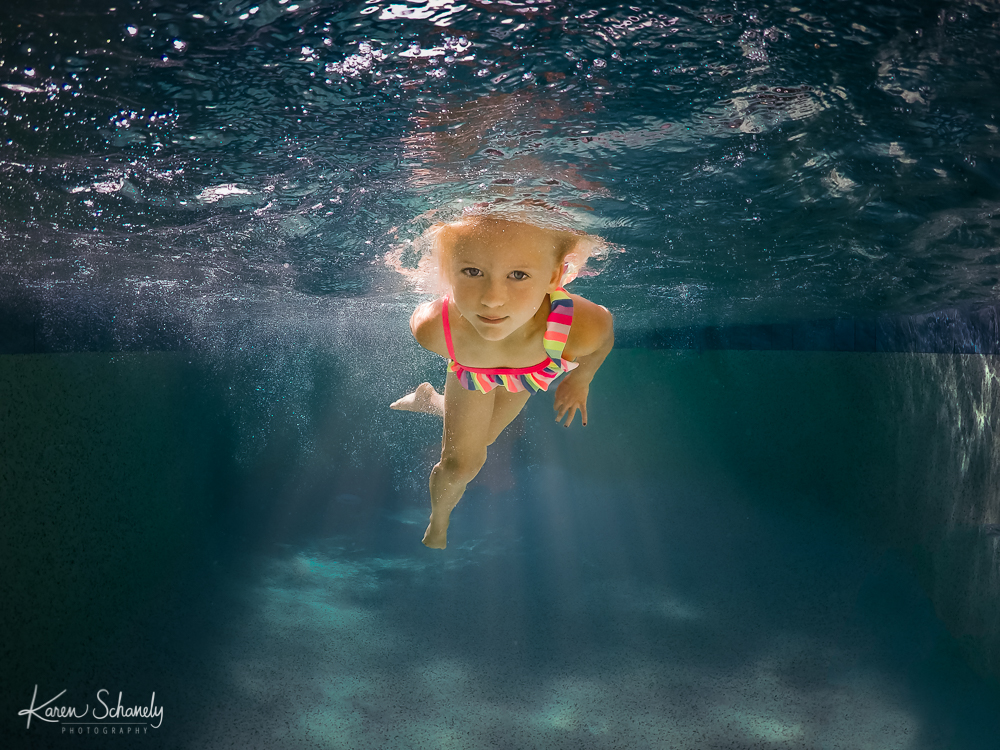
Light is the most important factor above ground, and it’s possibly even more important in water. Water absorbs some of the light, and many cameras (such as phones and GoPros) will need good light for the best quality image. So you’ll want to take pictures underwater when you have lots of light, such as mid-day. You’ll get interesting light patterns and lines as well. It’s also fun to find pockets of light where your subject is in a spot of direct light, and the background falls into shadow, which can be accentuated as the water gets deeper. Or play around with the pool lights after-dark.
TIP: For more accurate skin colors and tones, keep your subjects close to the surface of the water and therefore closer to the light. The deeper they are, the more light the water will absorb, and the subject will be darker and more blue.
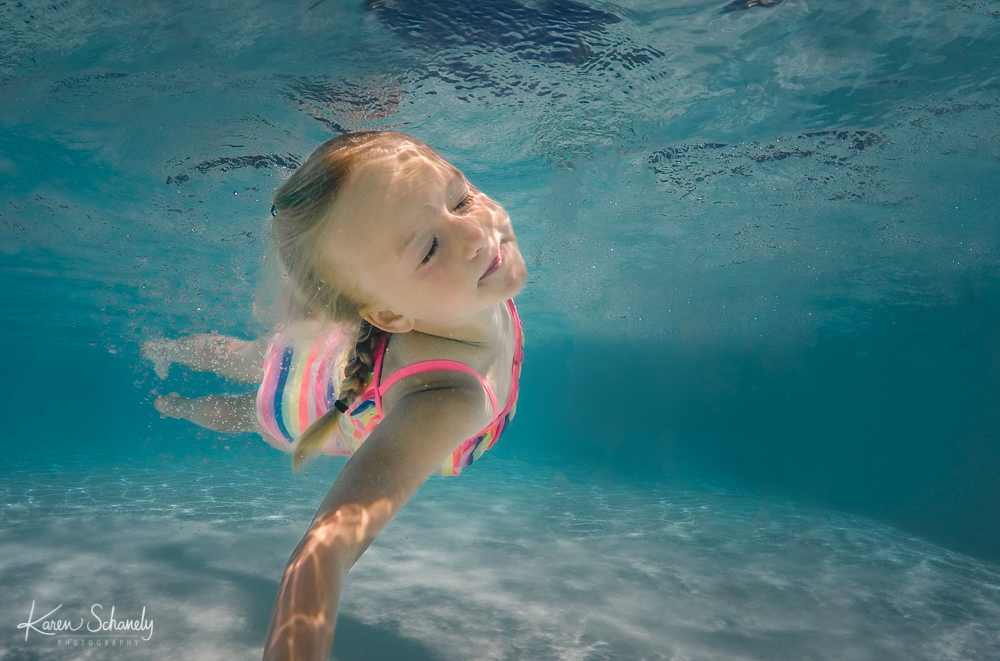
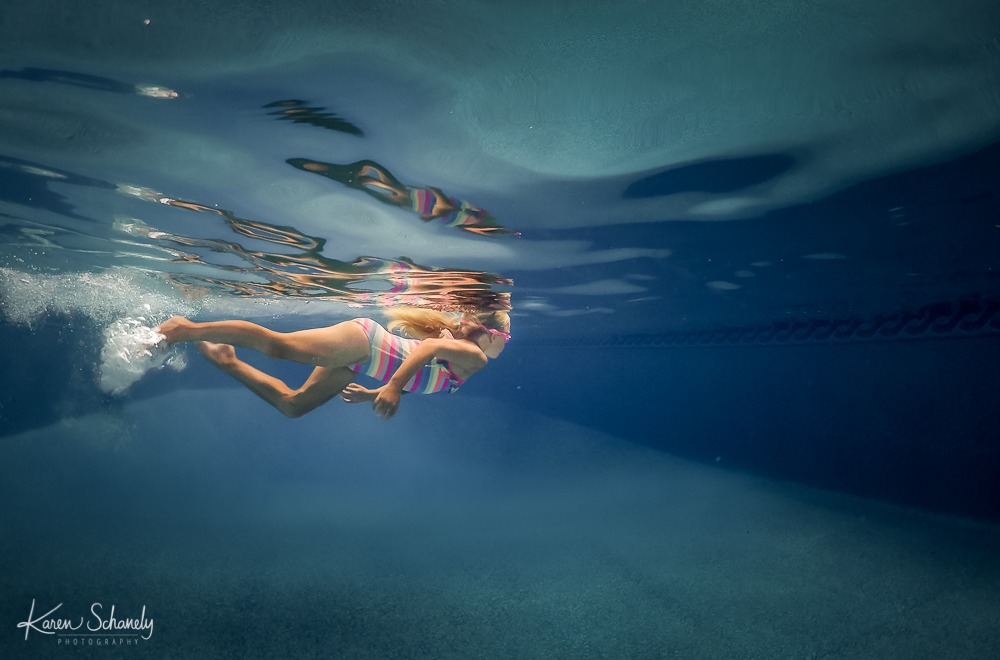
3. Get Close
When taking pictures underwater, you have to remember that you are actually shooting through a translucent, not transparent, material. Water absorbs light, and depending on where you are (fresh water lake, salt water ocean, pool), there are even things floating in the water – dirt, sand, bugs, etc. The more water between your camera and your subject, the less clear your subject will be. Therefore, using a wide angle lens and staying close to your subject will help preserve color, detail, and clarity.
TIP: If you are using a wide angle lens, be careful of the distortion that can come with these lenses. It can make arms and legs look unnaturally long. Keep your subject in the middle of the frame and away from the edges.
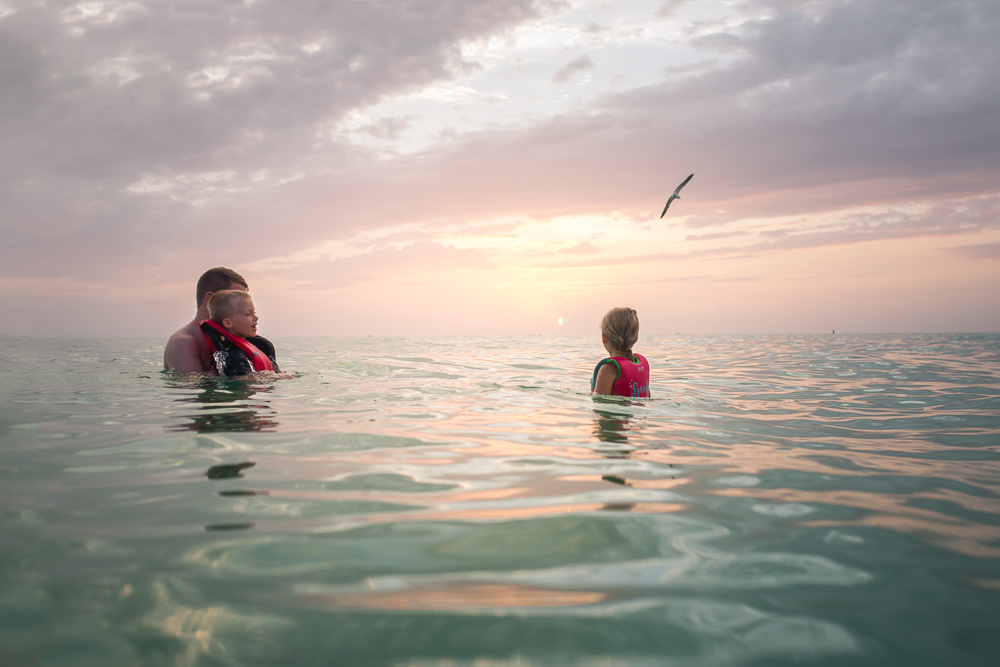
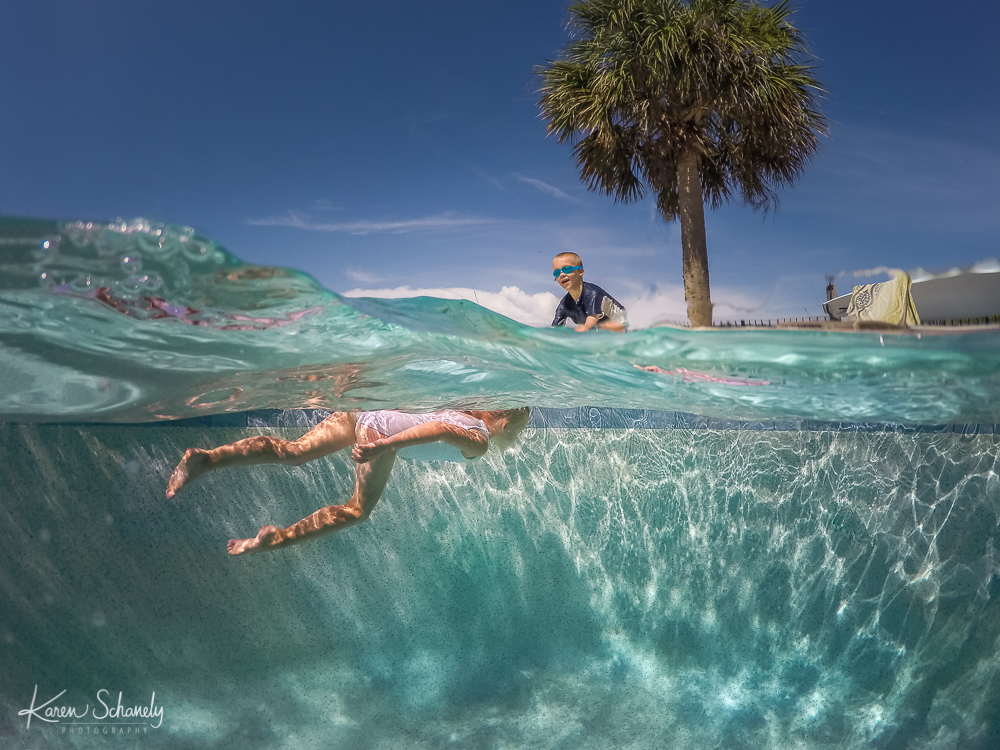
4. Include the Setting
One of my favorite underwater shots is when half the photo is above the water and half is underwater. It allows you to include the setting and tell more of the story. This is best achieved using a Dome Attachment, a semi-hemisphere that attaches to the front of the camera and moves the waterline away from the camera.
TIP: You’ll quickly find that water droplets stick to the dome. Sometimes this can add an interesting element to the picture, but can also distract from the image. I like to keep a towel nearby to wipe the water droplets off. I’ve also heard good things about using an anti-fog solution, or even your own spit (gross, but works!).
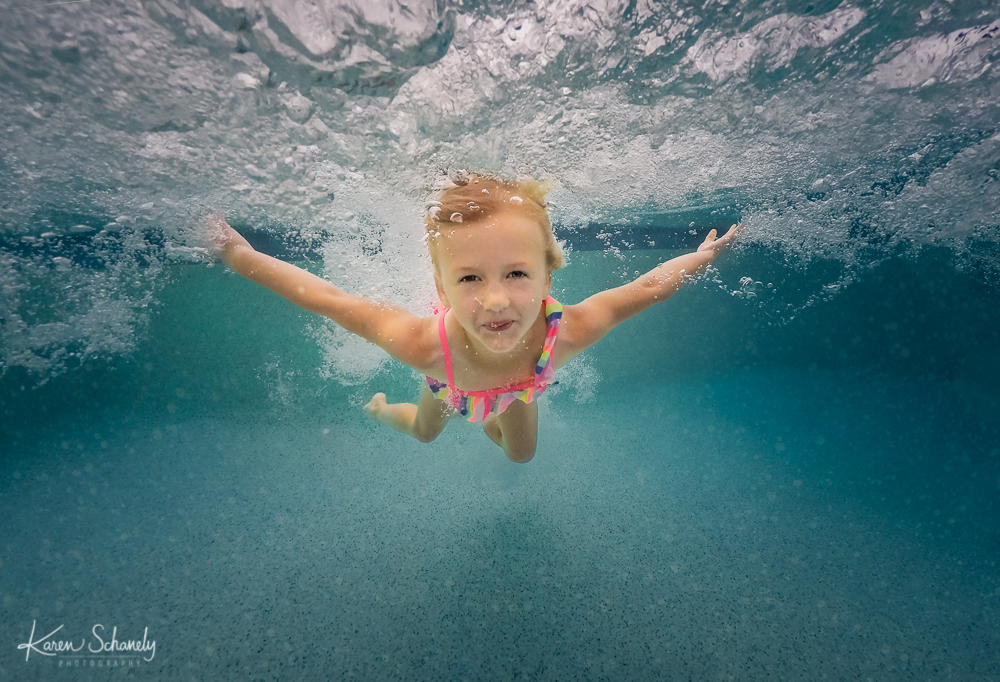
5. Add Some Editing Magic
You lose a lot of clarity and light shooting through water, but some post-processing editing will help give your pictures some pop and even creative magic. First of all, you’ll find that everything looks blue, especially if you are in deep water or your subject is further away from the camera. When light goes through water, the slower orange and red light waves are absorbed, making your subject look like a blue smurf. To fix this, you’ll need to add some yellow and magenta to warm up the skin. I also add like to add a lot of contrast and clarity/sharpening to the image as you lose a lot of that in the water.
TIP: If you want to keep the water blue and add yellow/magenta to just the skin, use a brush in Lightroom, Bridge, or Photoshop and paint the warmth and color onto just your subject.
I hope these tips are helpful as you stay cool in the water this summer!

Leave a Comment